This is my third year using the Winter Sowing method and I am a huge fan. It is so simple, cheap and requires sooo little time. One of the big advantages is that there is no “hardening” off process. Those tiny miracles know when to germinate and they get tough during their time in the those “jug microclimates”.
Even though not all of the seeds I’ve sown have done well (most have), it’s incredibly fun to see what happens! I’ve found it to be a great return on a small investment.
BIGGEST SURPRISE OF 2022…
For the first time last year I planted tomato seeds using the winter sowing method.
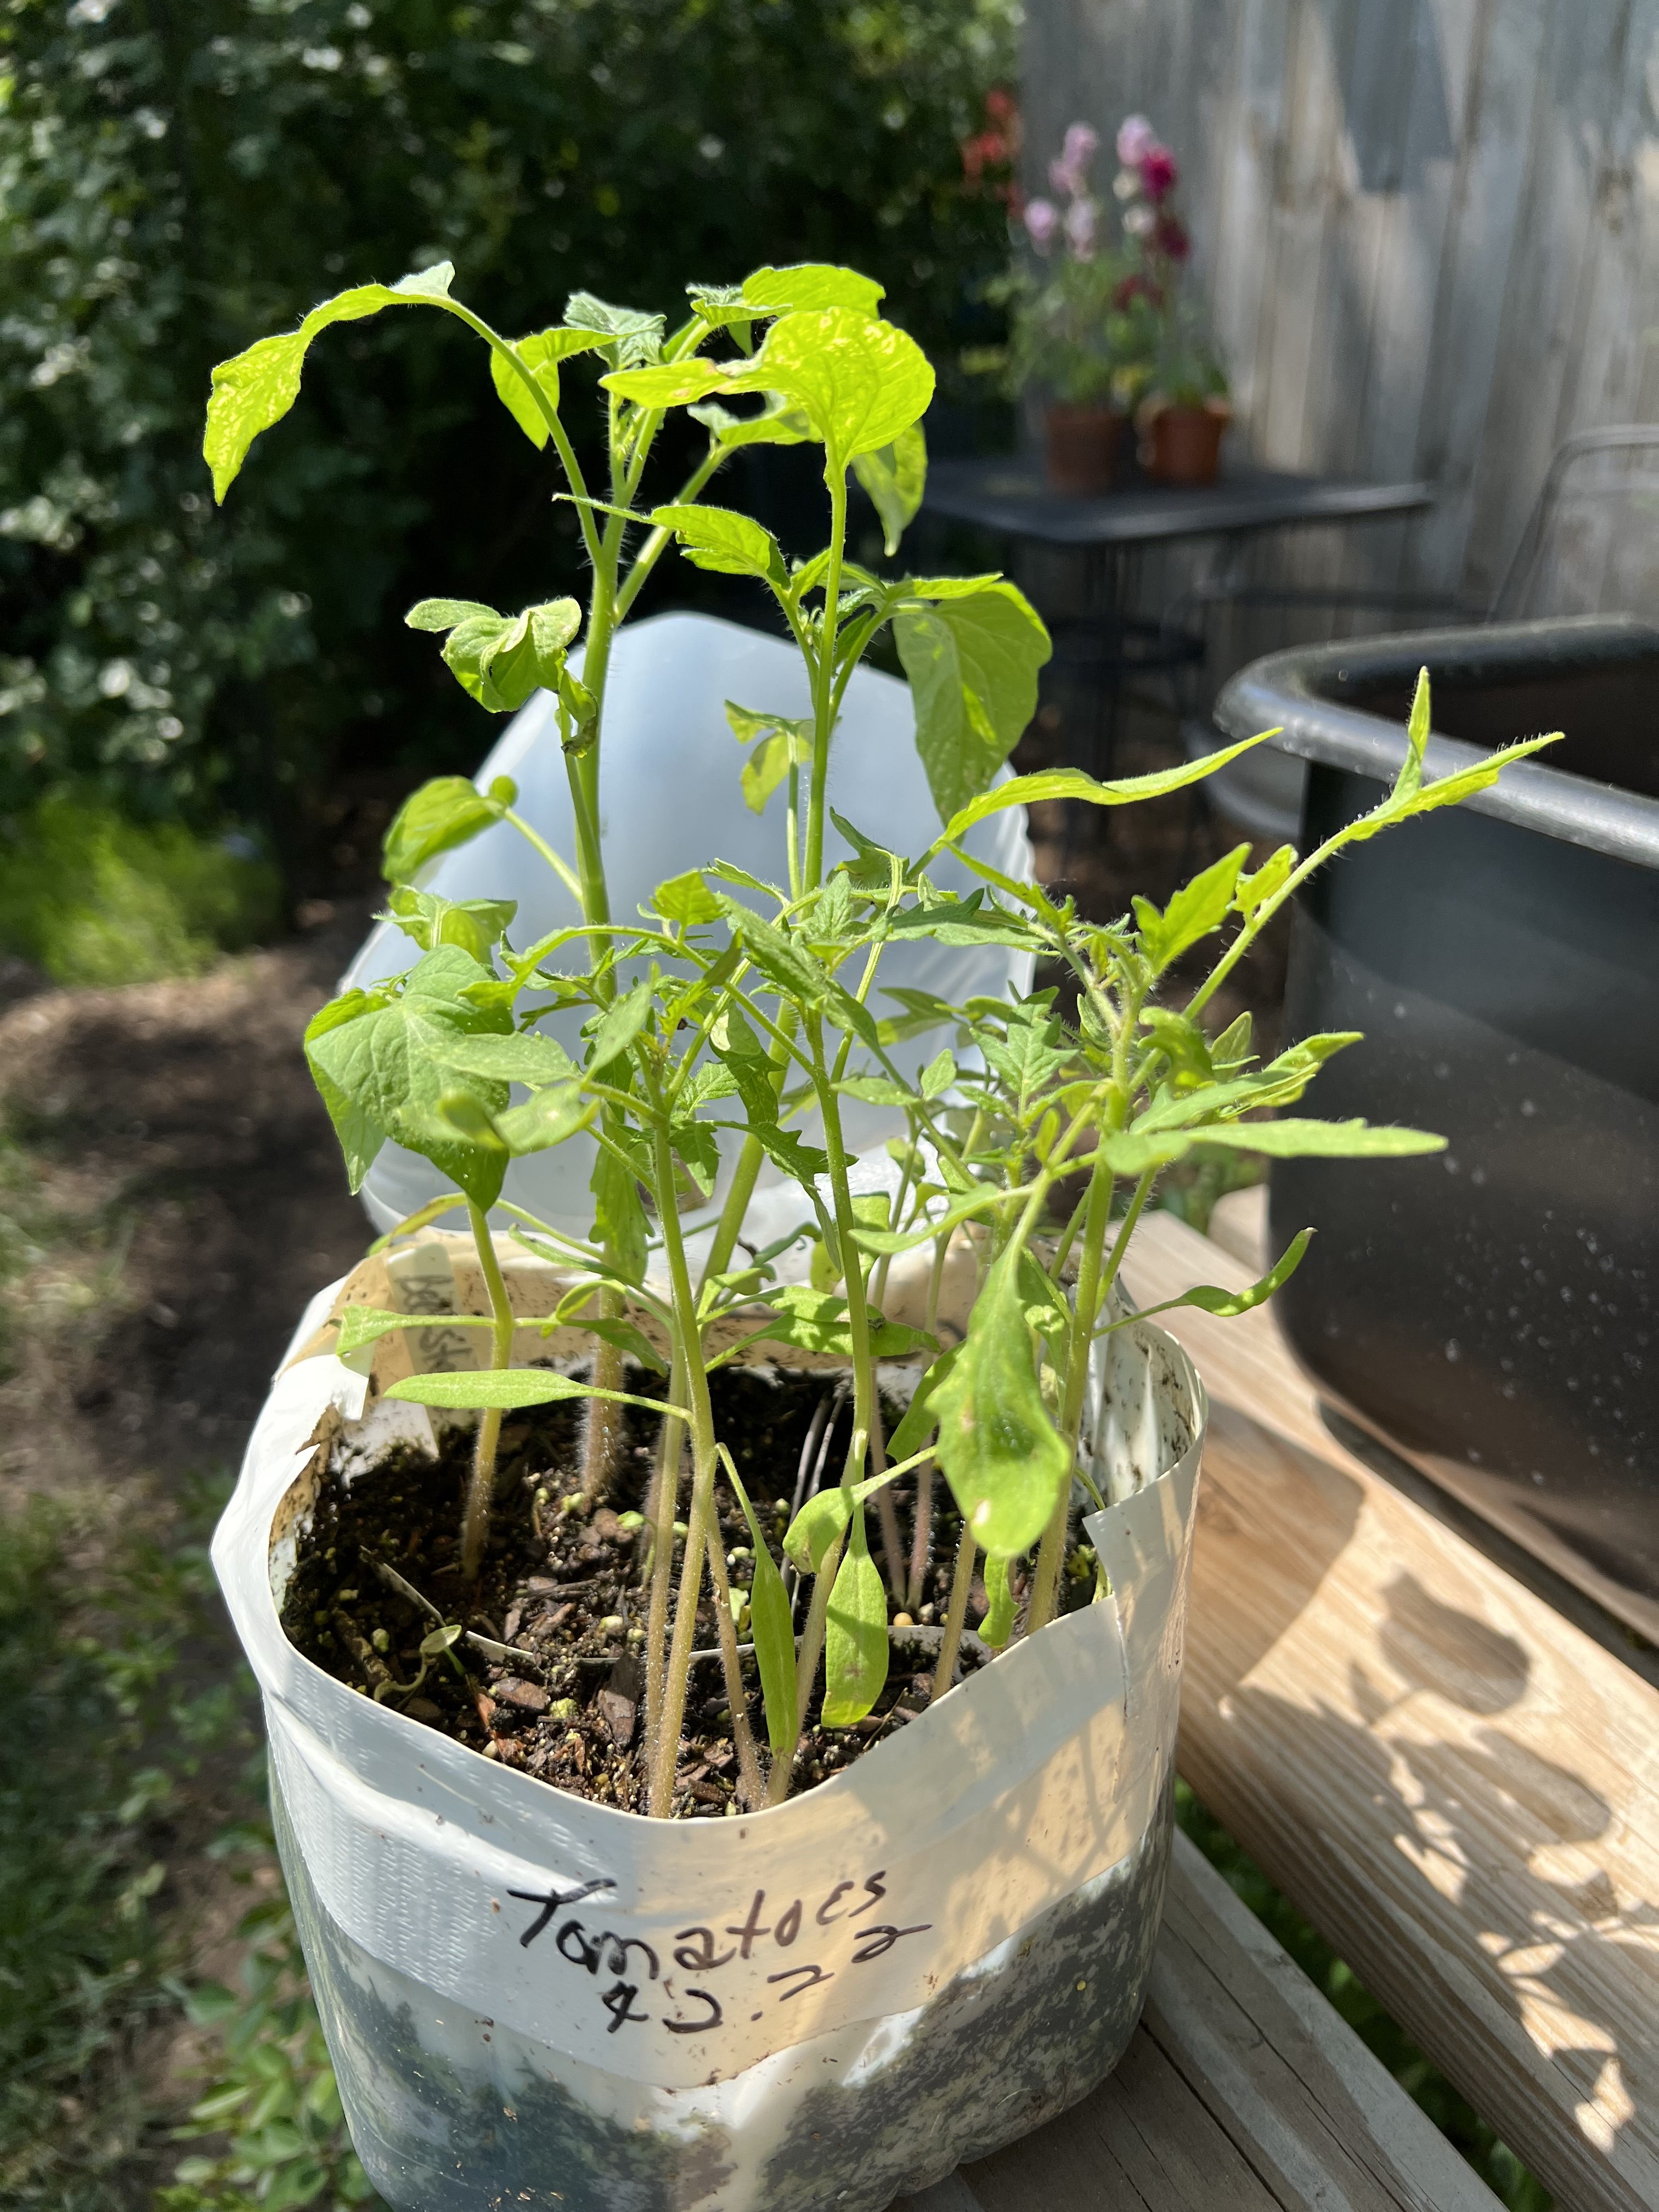
I put them outside in a jug on April 2, left them alone and had amazing plants in mid May ready to take their place in Mr. G’s driveway garden. The 3 varieties I planted were Gardener’s Delight, Steak Sandwich and Beefsteak.
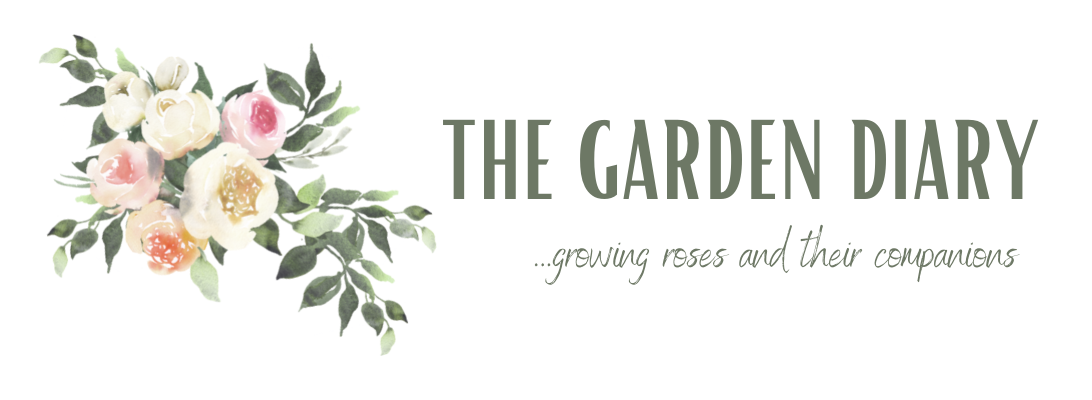
I also planted the same seeds in the potting shed and put them under lights. The shed may be small but I have a great set up for seed starting. When it was time to plant the tomatoes outside I would have to say that the indoor plants had the advantage on uniformity and look but the tomatoes in the jugs where very hardy and ready to go and initially were out performing the ones shed grown. In the picture below, the tall ones were winter sown. In the end they all caught up with each other and performed very well giving Mr. G a bumper crop of tomatoes! All’s well that ends well!

MY 2023 WINTER SOWING LIST (so far)
- Milkweed
- Foxglove
- Larkspur
- Phacelia
- Sweet Pea
- Bachelor Buttons
- Snapdragons
- Strawflower
- Orlaya
- Yarrow
- Scabiosa
- Lavender (Munstead)
- Poppies
These babies are already out in the elements… more to join them soon.

NEXT UP
In late March or early April, I plan to start several warm season flowers and veggies – especially tomatoes. I may even try Zinnias with this method even though direct seeding works very well.
For those who asked, these are the Zinnias I’m growing this year:
- Queen Lime Red ⭐️ (Fav from last year!)
- Queen Lime with Blush
- Queen Lime Orange ⭐️ (Fav from last year!)
- Giant Purple
- Isabellina
- Double Violet Queen


SEED SOURCES
I buy seeds from everywhere … the Dollar Store, Rural King, Amazon, Esty, Big Box Stores, garden centers and all the usual online sources. Amazon is great to save a bit on delivery especially if you only want a couple of packets,
Fabulous online options…
- Johnny’s Seeds
- Burpee
- Renee’s Garden
- Botanical Interest
- Eden Brothers
- Swallowtail Garden Seeds
- Outside Pride
LOCAL NOTE: FREE SEEDS will be one of the booths at the Hendricks Co. Master Gardeners annual spring event — Gardening for All Ages / April 29. Come join us for a day of garden fun! Event details here.

HOW TO…
If you are new to this process, below are the steps I take. There are numerous videos on YouTube where you can see this in action. Always note the growing zone of those doing the video to adjust for your zone growing needs. (I’m Zone 5b.)
WHAT YOU NEED:
- Clear water or milk jugs cut around the middle preserving 2-3” by handle for hinge (discard lids you won’t need them)
- I’ve seen people use rotisserie chicken container, take-out containers and all kinds of drink containers. As long as there is room for them to grow, they drain well and light can penetrate – most any container would work. I love the jugs because they are not only sturdy, they have that built in hinge. The jugs are large so I often plant more than one variety per jug.
- Potting Soil (Not seed starting mix.)
- Duck Tape
- Labels / Garden Marker
- Seeds
SIMPLE STEPS:
- Cut container and add 4-5 drain holes in bottom
- Fill container to about 1″ below rim with pre-moistened potting soil.
- Lightly tamp soil.
- Plant seeds according to the direction on the packet. DO READ THE SEED PACKET! Some seeds need light to germinate (Snapdragons, poppies etc) so you do not want to cover those. Some need darkness (Larkspur, & Calendula etc. ) and you will want to cover them well.
- Once seeds are planted, mist the container well.
- Add label inside the container! Use garden marker not a sharpie as they don’t last very well and if you are like me – you will not remember. Frankly many seedlings look the same! I tried using wooden popsicle sticks but they fade quickly or grow mold so I use plastic labels.
- Secure the container with duck tape. I like to put the name on the duck tape and the date.
- They are ready to go outside. I have them next to the potting shed where they are protected from wind and I can keep an eye on them. They also get plenty of sun but not full sun.


The fun really begins when you see this…


Friends, if you are doing the winter sowing method, what has been your experience and what are you sowing this year? Have you done Zinnias or Cosmos?
For my cold weather friends, remember summer?

This is a great post! Last October I went to a garden meeting and we got this information. It is amazing! I am going to try and get some jugs. Thanks for the reminder.
I think you will have so much fun! Good luck! 🌱🌱🌱💐
Our milk comes in opaque jugs–not translucent like yours–so I have used big boxes of spring mix with holes punched in the bottom, and I sow several pots that fit inside. https://www.coldclimategardening.com/2016/01/31/how-i-beat-the-winter-blues-by-winter-sowing/
Great idea! I am think of using something big enough to put individual pots inside. So many ways to do this!
That reminds me that I have not seen Renee in quite a while. Zayante Creek between here and there flooded somewhat, but the road remained open and unflooded.
I have been getting regularly email updates from Renee’s. Hope everyone is ok. Weather has been crazy in so many areas. Hear it is warmer than usual.
Clever girl!
I never buy any milk in plastic jugs, so this option is out for me.
Actually, I am tired just reading your post! You must live on caffeine! 😉
Well I don’t “live” on caffeine, but I do “enjoy” my fair share. 😁🌱💐🌹😘